

Customizing Your Gumroad Buy Button Using Svelte
Gumroad is one of the hottest sites for creators to easily sell their digital products directly to customers with very little eCommerce setup work. You’ve probably seen a number of product on it from incredible creators such as Daniel Vassallo, Jose Rosado, and others. Here I’m going to show how you can customize the Buy Button style to match your website’s design.
We’re going to build this into a reusable Svelte component, and transform it to match the designs used by Russell Brunson on his Traffic Secrets site. He’s a known high-converting internet marketer who has put years of experimentation into learning techniques to optimize conversions, so this is a nuclear-grade sales optimized design.
Step 1 - Initial Button Integration
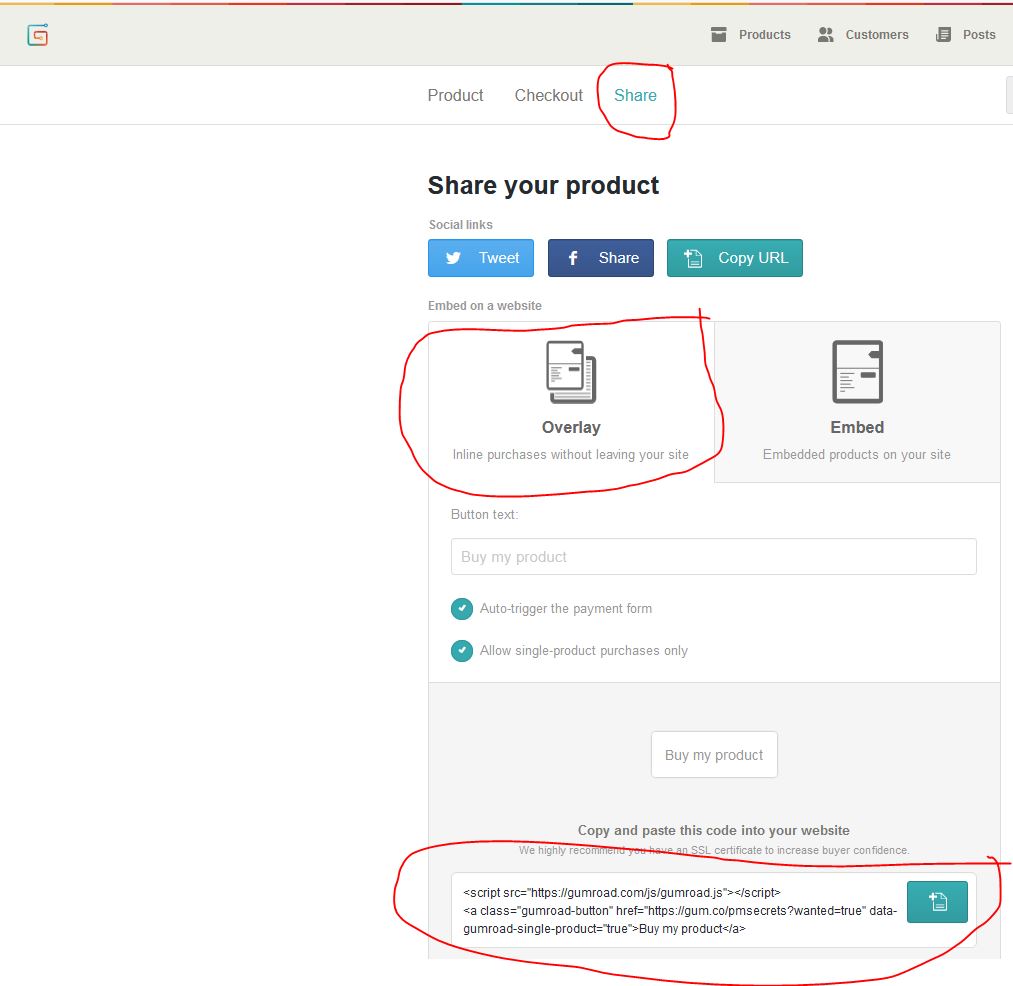
To get the starting code, we
- Navigate to the Share panel on your Gumroad product
- Check all the boxes
- Copy the code snippet
- Convert it into a proper Svelte component.
<script>
  export let productId = "";
  export let text = "Buy my product";
</script>

<svelte:head>
  <script src="https://gumroad.com/js/gumroad.js"></script>
</svelte:head>

<a class="gumroad-button"
  href="https://gum.co/{productId}?wanted=true"
  data-gumroad-single-product="true">
    {text}
</a>

Step 2 - Centering & Spacing
Next, we ensure that element positioning is always centered and will flow nicely in a vertical page layout.
<div class="cta">
  <a class="gumroad-button"
    href="https://gum.co/{productId}?wanted=true"
    data-gumroad-single-product="true">
      {text}
  </a>
</div>

<style>
  .cta {
    display: flex;
    align-content: center;
    justify-content: center;
    padding-top: 1em;
    padding-bottom: 1em;
  }
</style>

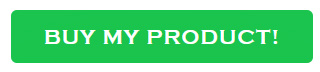
Step 3 - Custom Styling
To begin customizing the styling, we strip off the gumroad-button class, and then begin adding custom styling for buy-button.
<div class="cta">
  <a class="buy-button"
    href="https://gum.co/{productId}?wanted=true"
    target="_blank"
    data-gumroad-single-product="true">
      <h3>{text}</h3>
  </a>
</div>

<style>
.buy-button {
  border-radius: 6px;
  background-color: rgb(0, 189, 57);
  background-repeat: no-repeat;
  margin: 0.6em auto auto auto;
  padding: 0.8em 1.8em;
  transition-duration: 0.2s;
  box-shadow: none;
}

.buy-button:hover,
.buy-button:active,
.buy-button:focus  {
  box-shadow: inset 0 0px 0px 0 rgba(255,255,255,0.22),0 233px 233px 0 rgba(255,255,255,0.12) inset;
}
</style>
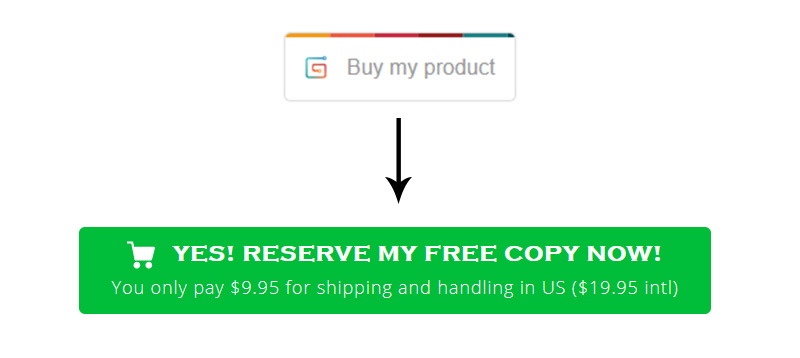
Step 4 - Inline Cart Icon and Two Lines of Text
Finally, we’ll add the shopping cart icon, and an optional offer details line.

Final Code with all CSS Styling is available here: Source Code
You can use this in your Svelte app like this:
<script>
  import GumroadBuyButton from './Elements/GumroadBuyButton.svelte';
</script>

<GumroadBuyButton productId="yourProductId"
  text="Yes! Reserve my free copy now!"
  offerDetails="You only pay $9.95 for shipping and handling in US ($19.95 intl)"/>
That’s it!
This makes it dead simple to embed Gumroad Checkout directly on your website, with a high-converting button that can look exactly the way you want it to.
Aesthetics matter!